Contents
the email tool that makes email marketing simple
Segmenting Subscribers
Published: December 23, 2024
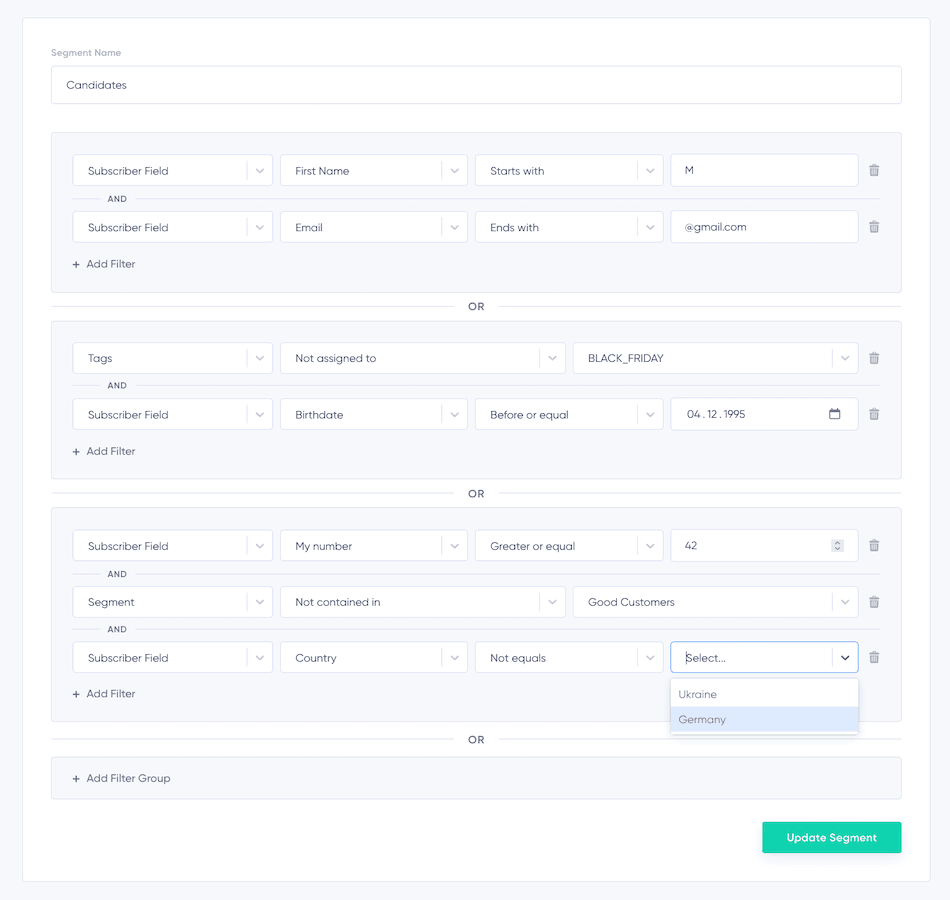
Segments are created using matchers that filter data from fields, tags, and even other segments to create precise groups of subscribers. For an overview of how fields and tags work in Maildroppa, please refer to our Subscriber Fields and Tags guide.
Segments allow you to create groups of your subscriber list based on shared characteristics. These groups can be targeted with tailored marketing campaigns to improve relevance, engagement, and conversion rates. For example, you might use segments to:
- Target new customers and existing customers with personalized content.
- Create a group of subscribers interested in specific products or services based on their data.
Matchers: The Foundation of Segments
A segment is a condition (or set of conditions) applied to your subscriber list to divide it into smaller, more specific groups. These groups share common traits, making it easier to send targeted emails that feel personal and relevant.
Matchers define the rules that determine whether a subscriber is included in a segment. They operate on the following elements:
- Fields: Pieces of information collected about subscribers, such as Name, Email, Birthdate, or custom fields.
- Tags: Labels like "VIP" or "BLACK_FRIDAY" that you assign to organize subscribers into groups.
- Segments: Existing segments can be reused within new segments, making it easy to build on already-defined groups.
How Matchers Work
Each matcher evaluates whether a subscriber meets a condition. Since fields are based on different data types (like text, numbers, or dates), there are matchers tailored to each type of information. These allow you to combine conditions using AND or OR logic, creating highly customizable rules.
Here’s how matchers work for each type:
Field Matchers
Field matchers filter subscribers based on specific data in their fields.
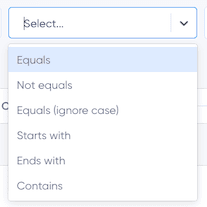
For Text Fields (e.g., Name, Email):
- Equals: Matches an exact value (e.g., "First Name equals John").
- Not Equals: Matches everyone except the specified value.
- Starts With: Matches values that begin with a specific string (e.g., "Email starts with info").
- Ends With: Matches values that end with a specific string (e.g., "Email ends with @gmail.com").
- Contains: Matches values that include a certain word or phrase.
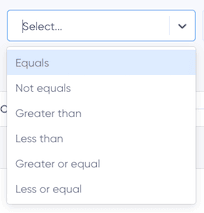
For Number Fields (e.g., Age, Custom Numeric Fields):
- Equals / Not Equals: Matches or excludes an exact number.
- Greater Than / Less Than: Matches numbers above or below a certain threshold (e.g., "Age greater than 18").
- Greater or Equal / Less or Equal: Includes the threshold as part of the match.
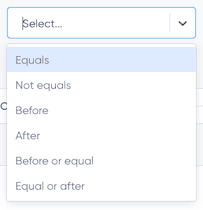
For Date Fields (e.g., Birthdate):
- Equals / Not Equals: Matches or excludes an exact number.
- Before / After: Matches dates earlier or later than a given date (e.g., "Birthdate after January 1, 2000").
- Before or Equal / Equal or After: Includes the date and matches a range.
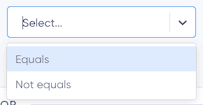
For Restricted Fields (e.g., Dropdowns, Radio Buttons, Checkboxes):
- Equals: Matches subscribers who selected a specific option.
- Not Equals: Matches subscribers who did not select the option.
For more details about field types and their characteristics, visit the Subscriber Fields and Tags guide.
Tag Matchers
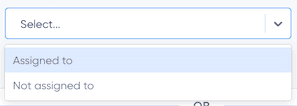
- Assigned To: Matches subscribers who have been assigned a specific tag (e.g., "Assigned to BLACK_FRIDAY").
- Not Assigned To: Matches subscribers who do not have the specified tag.
Segment Matchers
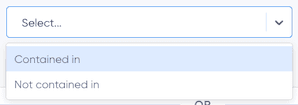
- Contained In: Matches subscribers included in a referenced segment (e.g., "Contained in VIP Customers").
- Not Contained In: Matches subscribers who are not part of the referenced segment.
Using segments within other segments is helpful for:
- Reusing Rules: Build on existing segments like "Good Customers" without duplicating effort.
- Simplifying Logic: Break down complex filters into smaller, manageable parts.
Adding a Segment
To create a segment:
- Click on “Add a new segment” in the top right corner of the Segments page.
- Enter a name for your segment.
- Add one or more filter groups. Each filter group can include:
- Field matchers (e.g., "Email ends with @gmail.com").
- Tag matchers (e.g., "Assigned to BLACK_FRIDAY").
- Segment matchers (e.g., "Contained in Good Customers").
- Combine rules within a filter group using AND logic.
- Add more filter groups connected by OR logic to create complex rules.
Each segment can have up to 30 conditions spread across multiple filter groups.
Editing a Segment
- Locate the segment you want to edit.
- Click on the three dots at the end of the segment’s row.
- Select Edit.
- Make your changes and click Update Segment to save.
Deleting a Segment
- Locate the segment you want to delete.
- Click on the three dots at the end of the segment’s row.
- Select Delete.
- Confirm by typing "DELETE" in the popup.
Note: Segments in use by other segments or scheduled newsletters cannot be deleted.
Using Segments
Segments enable precise targeting for your campaigns:
- Go to Create Campaign.
- Select a segment in the "To" dropdown.
- Schedule or send your campaign.
Subscriber selection is done at the time of sending, ensuring that new subscribers are included and unsubscribers are excluded.
Conclusion
By using segments with matchers, fields, tags, and nested segments, you can optimize your email marketing for maximum impact. Create tailored subscriber groups, reuse existing rules, and simplify your workflow to send more personalized and relevant campaigns. For more details on fields, tags, and matchers, visit the Subscriber Fields and Tags guide.
