Chapters
- Stripo Drag-and-Drop Email Content Editor
- Stripo Drag-and-Drop Email Editor Settings
- Appearance Tab
Contents
the email tool that makes email marketing simple
Stripo Drag-and-Drop Email Content Editor
Published: February 5, 2025
Maildroppa's Email Content Editor makes it easy to create professional emails. With its drag-and-drop interface, you can quickly design and personalize your email campaigns. It's straightforward to use, helping you get your message across effectively.
Overview of the Editor
Content Area
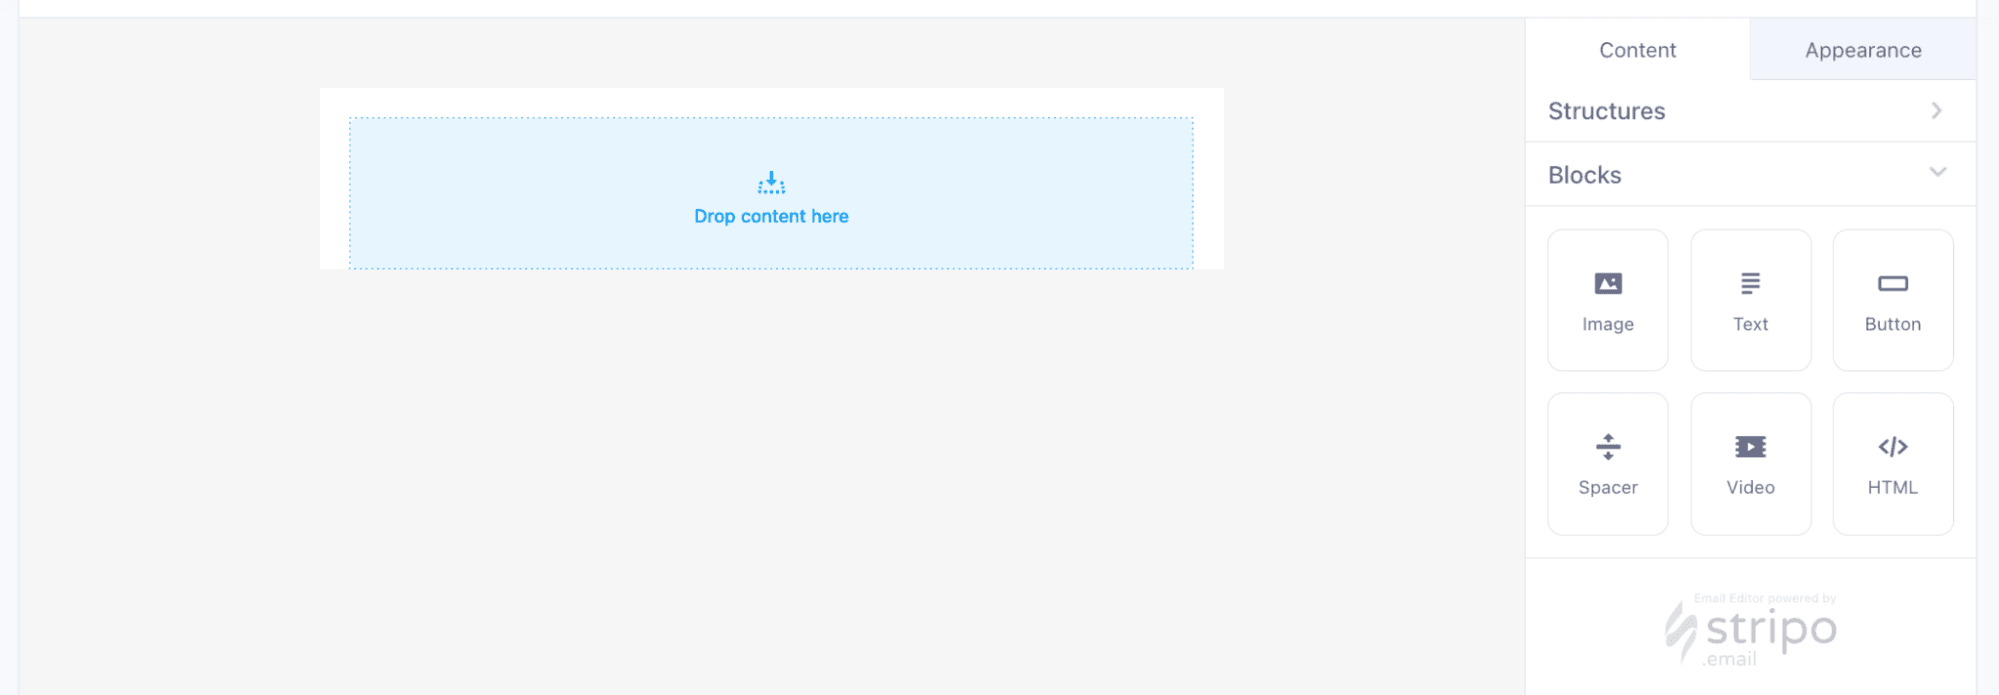
Positioned on the left side, the content area is the primary workspace where you build and preview your email content in real-time. This part of the editor displays all the changes you make, offering an immediate visual representation of your email.
Settings Area
Located on the right, the Settings Area features two tabs: Content and Appearance. This section lets you configure various aspects of your email, from the structural layout to detailed elements of design and formatting. We will look at the Settings Area in detail later in this article.
For this guide, we will initiate a new email campaign from scratch, without the use of a predefined template.
Content Area
Upon opening the editor, you are greeted with a large, light gray rectangle that serves as your canvas for crafting the email's layout and content. At the center top, a smaller white rectangle encloses a light blue rectangle, symbolizing the basic structure of an email and serving as a placeholder for your content.
Understanding Structures
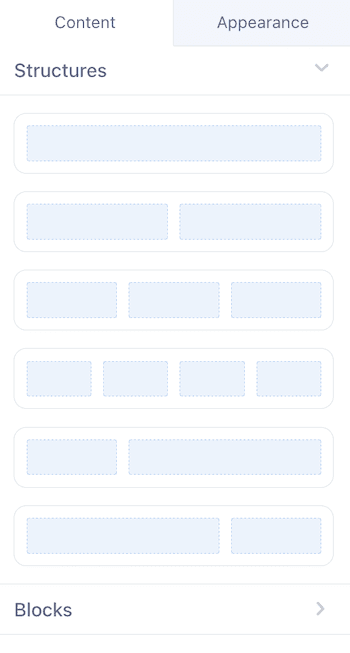
Structures are fundamental elements that define your email's layout. They act as containers for content blocks, organizing your email into logical sections such as headers, bodies, and footers. Initially, structures are merely frameworks that hold the Content Blocks which will shape the email's design.
Adding Content to Structures
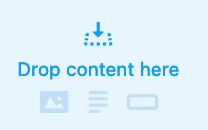
At the center of the light blue area, the prompt "Drop Content Here" with a downward arrow guides where to add elements.
Hovering over this area reveals icons for:
- Image
- Text
- Button
Selecting any of these icons transforms the structure into the corresponding content block, ready for immediate customization.
Building Your Email Layout
Enhance your email with a full suite of elements available under the Content tab in the Settings Area:
-
Image: Insert images to add visual interest.
-
Text: Add customizable text to convey your message.
-
Button: Include actionable buttons that drive recipients to engage.
-
Spacer: Utilize spacers to create visual breathing room between elements.
-
Video: Embed videos to provide dynamic content.
-
HTML: Insert custom HTML for specialized content needs.
These elements allow for versatile email designs, catering to various content requirements and enhancing the overall aesthetic and functionality of your campaigns.
Managing Structures
Efficient structure management is crucial for organizing content effectively within your emails.
Editing a Structure
Hovering over the structure's blue area reveals the label "Structure" and a small gray label with three white dots on the right, offering options to:
- Move: Rearrange within the email.
- Copy: Duplicate the structure.
- Delete: Remove the structure.
Note: The original structure cannot be deleted because at least one structure must be present.
Moving and Copying Structures
To adjust a structure's position or replicate it:
- Click and hold the Move or Copy icon.
- Drag to the desired location until you see "Drop Here."
- Release the mouse to place the structure.
Deleting a Structure
To remove an excess structure:
- Hover over the structure.
- Click on the three white dots.
- Select the Delete icon.
Adding New Structures
Expand your layout by adding more structures:
-
Using the Plus Icon: Click the plus sign that appears when hovering over an existing structure to choose from predefined structural layouts.
-
Using the Settings Area: From the Content tab, drag and drop a chosen structure into the layout.
The subsequent section will delve deeper into the Settings Area, exploring in detail the tools and options available for refining your email designs, ensuring each element is perfectly tailored to enhance your email marketing efforts.


