Contents
the email tool that makes email marketing simple
Signup Form Settings
Published: December 23, 2024
The Signup Form Settings page allows you to customize the text of all the pages and emails that are required in a customer's lifecycle.
The text of the signup form itself can be customized directly in the form builder.
If you need a data processing agreement, because your company is required to comply with the GDPR or another Data Protection Law, you can customize it on the Marketing Permissions page.
All other text for the Signup-Lifecycle flow can be customized on the Signup Form Settings page.
Signup Response Page
After a customer signs up on your signup form, we display a subscription request confirmation page, known as a thank you page for short. There are two options to choose from here. Showing a message on a page hosted by Maildroppa, or redirecting to an external page.
If you’d like to show a message on a Maildroppa-hosted page, select the Show Message option. You will now have the opportunity to customize both the title of the message as well as the message itself. Alternatively, you can redirect the subscriber to a page of your choice
- this allows you to create your own thank you page, complete with your own look and feel.
Signup Confirmation Email
The Signup Confirmation Email is an essential part of the double opt-in process, ensuring compliance with GDPR regulations and confirming that only genuinely interested subscribers join your email list. For companies in Europe, this is a legal requirement. However, even if GDPR doesn’t apply to your business, using double opt-in has clear advantages. It validates email addresses, maintains a clean subscriber list, and improves the quality of your audience.
Double opt-in also enhances your email marketing performance. By including only engaged subscribers in your campaigns, you can achieve higher delivery rates, better open and click rates, and reduced bounces and unsubscribes.
Customizing the Email
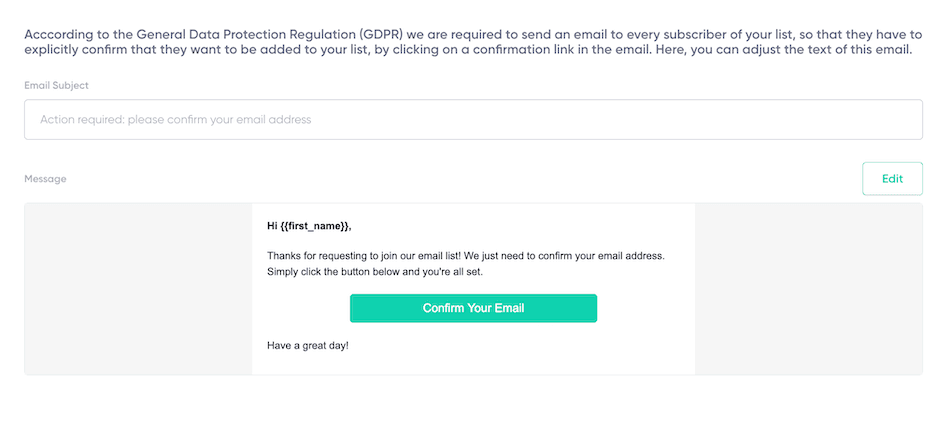
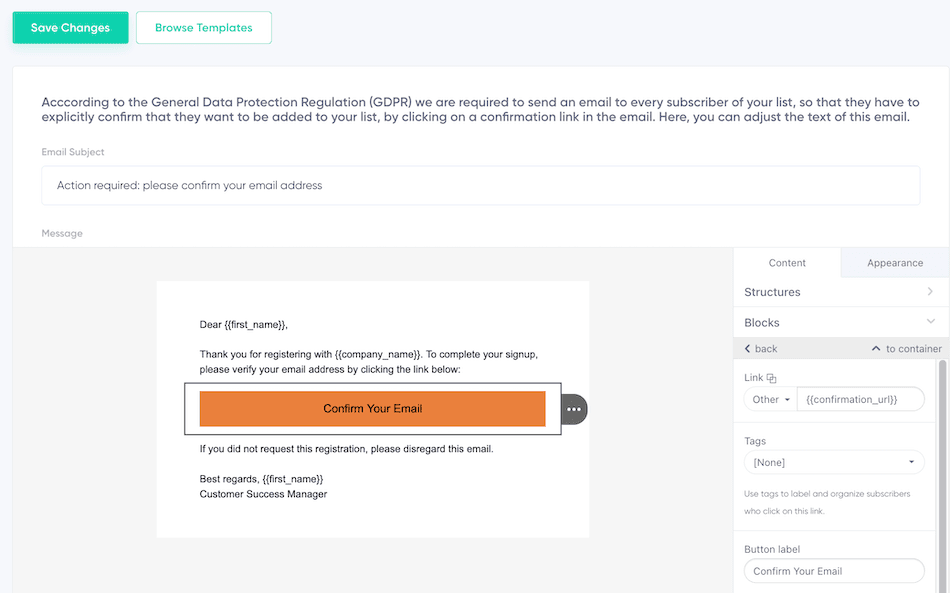
When you open the Signup Confirmation Email section, the default email will be shown. This includes the subject line and a pre-written email body containing the required confirmation button.
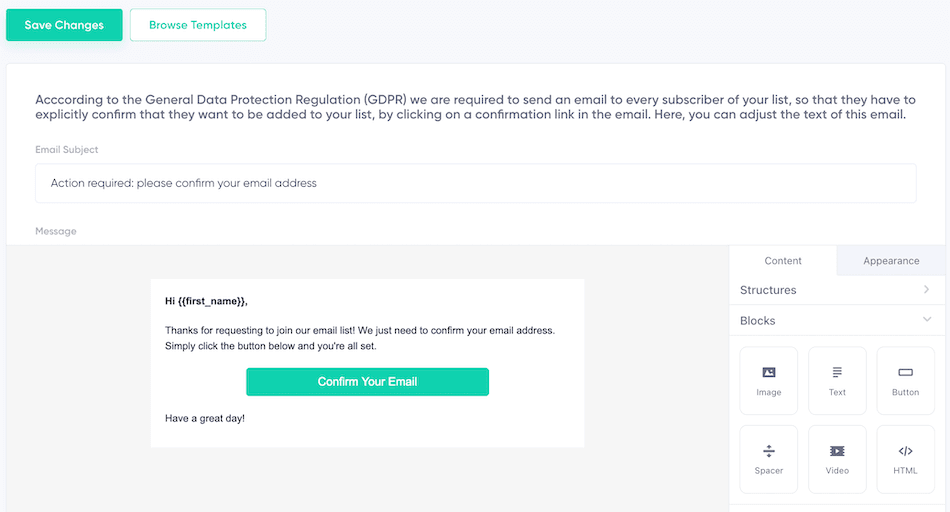
By clicking the Edit button, you are taken to the drag-and-drop email editor, where you can modify the email. This editor allows you to add text, images, buttons, or multimedia elements to create an engaging email that reflects your brand's style.
Personalization and Confirmation Links
Personalization is seamlessly integrated into the editor. Using the text toolbar, you can dynamically insert subscriber details, such as {{first_name}}, directly into your email content. This makes your emails feel more personal and relevant, increasing engagement.
The confirmation link, required for the double opt-in process, can be added to any clickable element—text, buttons, or images. To configure this, select the element in the editor, navigate to the Link Settings, and add {{confirmation_url}} as the link.
This ensures that the Maildroppa system will replace {{confirmation_url}} with the correct confirmation link for each subscriber when the email is sent. Without this variable, the confirmation process will not work.
Using Templates
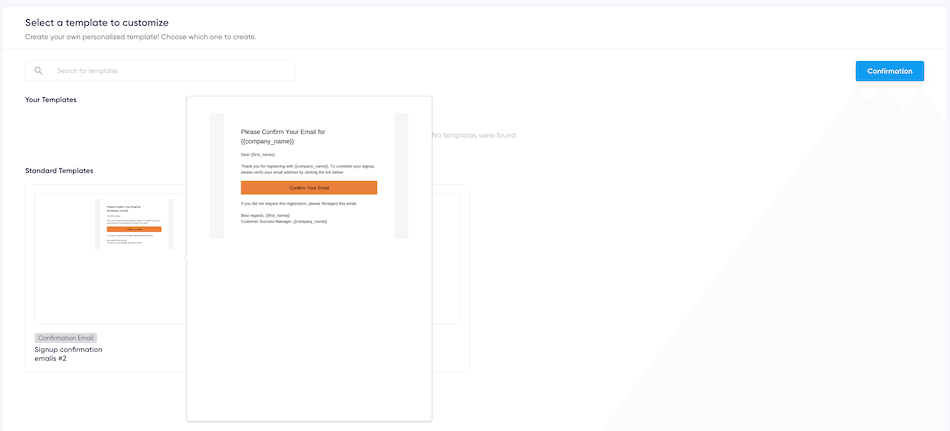
If you wish to start fresh with a new design, you can click the Browse Templates button. This will open a library of pre-designed templates for Signup Confirmation Emails. Selecting a template will replace the existing design and text with the defaults from the chosen template.
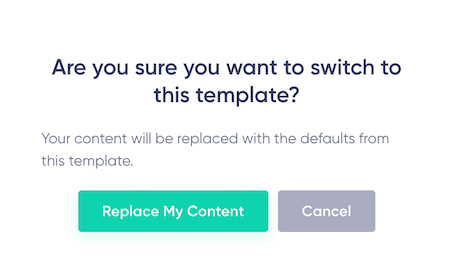
After selecting a template, you will be asked to confirm the replacement. Once confirmed, the new design will appear in the editor. You can then customize the template further as needed.
Saving and Resetting Changes
After making changes, click Save Changes to update your Signup Confirmation Email. The updated email will then be displayed in the Signup Confirmation Email section. If you wish to return to the default email design and content, click the Reset button to restore the original version.
To learn more about designing emails, refer to our drag-and-drop editor guide. For information about templates, visit our template guide.
Signup Confirmation Response Page
When the customer clicks on the confirmation link or button in the signup confirmation email, they will be directed to the signup confirmation response page.
For this step, you can choose to use the Maildroppa hosted page again, or you can opt to redirect the subscriber to a page of your choice.
If you choose to use the Maildroppa hosted page, you will have the option to customize the title of the message, as well as the message itself.
Welcome Email
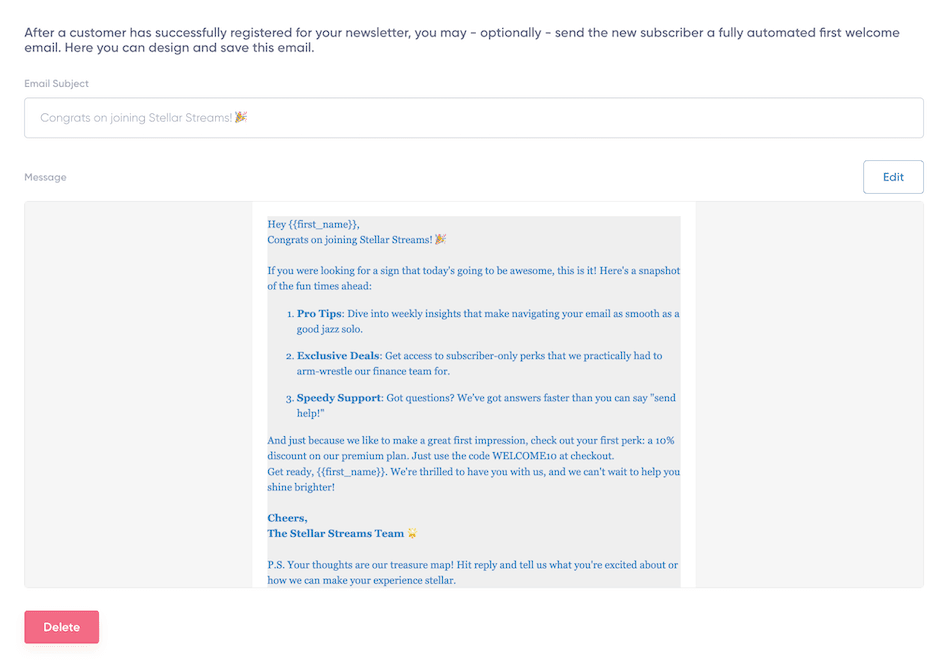
The Welcome Email is an optional feature you can configure to send a personalized message to new subscribers after they confirm their subscription. It provides a perfect opportunity to introduce your product, share an exclusive lead magnet like an ebook or video course, or simply provide a warm welcome to engage your audience from the very start. Unlike the Signup Confirmation Email, the Welcome Email does not require any specific variables, such as {{confirmation_url}}. Instead, it allows you to freely design an email to reflect your brand and message.
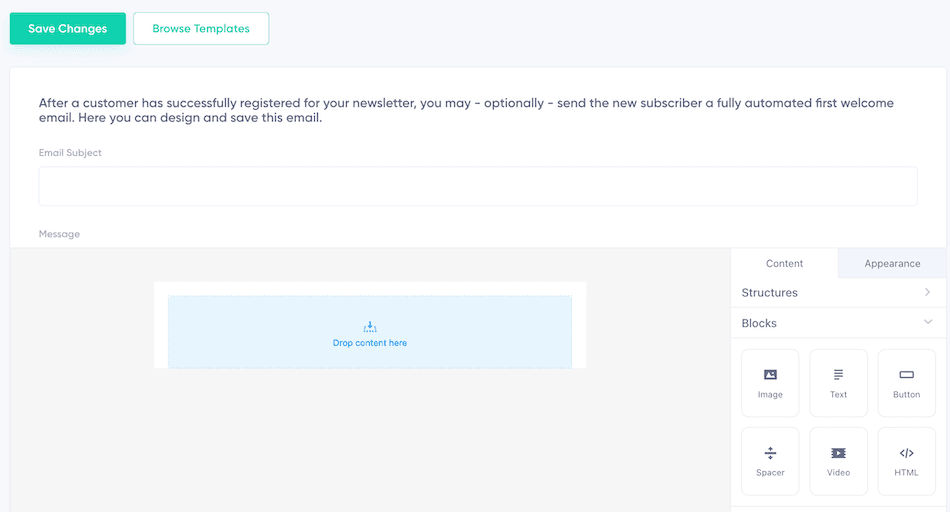
Initially, there is no Welcome Email set up. The section will display an option to Configure Welcome Mail, inviting you to start creating one.
Clicking the green Configure Welcome Mail button opens the drag-and-drop email editor, where you can design your Welcome Email from scratch. This is similar to editing the Signup Confirmation Email, but the editor starts with a blank canvas since no default Welcome Email exists.
If you wish to use a template for your Welcome Email, the process works exactly the same way as described for the Signup Confirmation Email. Templates can be selected from a library, and applying one will replace the existing design and content. For details, refer to the section on Using Templates in the Signup Confirmation Email guide.
When you save the Welcome Email, it is activated and automatically sent to new subscribers. You can return at any time to edit or update the content. If you decide you no longer need the Welcome Email, you can delete it. Unlike the Signup Confirmation Email, there is no "reset" button because there is no default Welcome Email to revert to.
Unsubscribe Request Page
When you send out a newsletter campaign to your subscribers, we include a link below each email that the subscriber can use to unsubscribe from your list. This is another step we include to ensure GDPR compliance. It also assists in maintaining your reputation as a trustworthy email sender and will help to ensure consistently high delivery rates.
When the customer clicks on this link, they will be redirected to a Maildroppa-hosted page where they will need to confirm their decision to unsubscribe from the newsletter. This will help to prevent accidental unsubscribes.
You have the option to customize the title and message of the unsubscription confirmation page. Similar to the Subscription Confirmation Email, one can choose between a link and a button that can be customized in terms of appearance.
Unsubscribe Response Page
This is the last step in the subscriber’s lifecycle. The subscriber is directed to this page after confirming their unsubscription from your newsletter. Time for a final goodbye!
You can edit the subject and text of the message if you choose to utilize a Maildroppa-hosted page. Alternatively, you can choose to redirect the customer to an external page of your choice.

