Chapters
- Signup Form Builder: Design Forms
- Build and Publish Landing Pages
- Build and Embed Signup Forms
- Create and Display Popup Forms
- Create and Position Slide-in Forms
Contents
the email tool that makes email marketing simple


Create and Position Slide-in Forms
Published: · Last updated: · By Marcus Biel
In brief
Learn how to design a Maildroppa Slide-in, choose its screen position, set delay and frequency, embed it on your website, and test it on mobile.
A Slide-in is a compact signup form that appears at an edge or selected position of the browser window.
It attracts more attention than a form placed inside the page while covering less of the website than a centered Popup. Slide-ins work well for newsletter reminders, discounts, product updates, and short offers that should remain visible while the visitor reads the page.
This guide explains the settings unique to Slide-ins. The common layout, content, field, tag, typography, layer, and signup-flow functions are covered in the main Signup Form Builder guide.
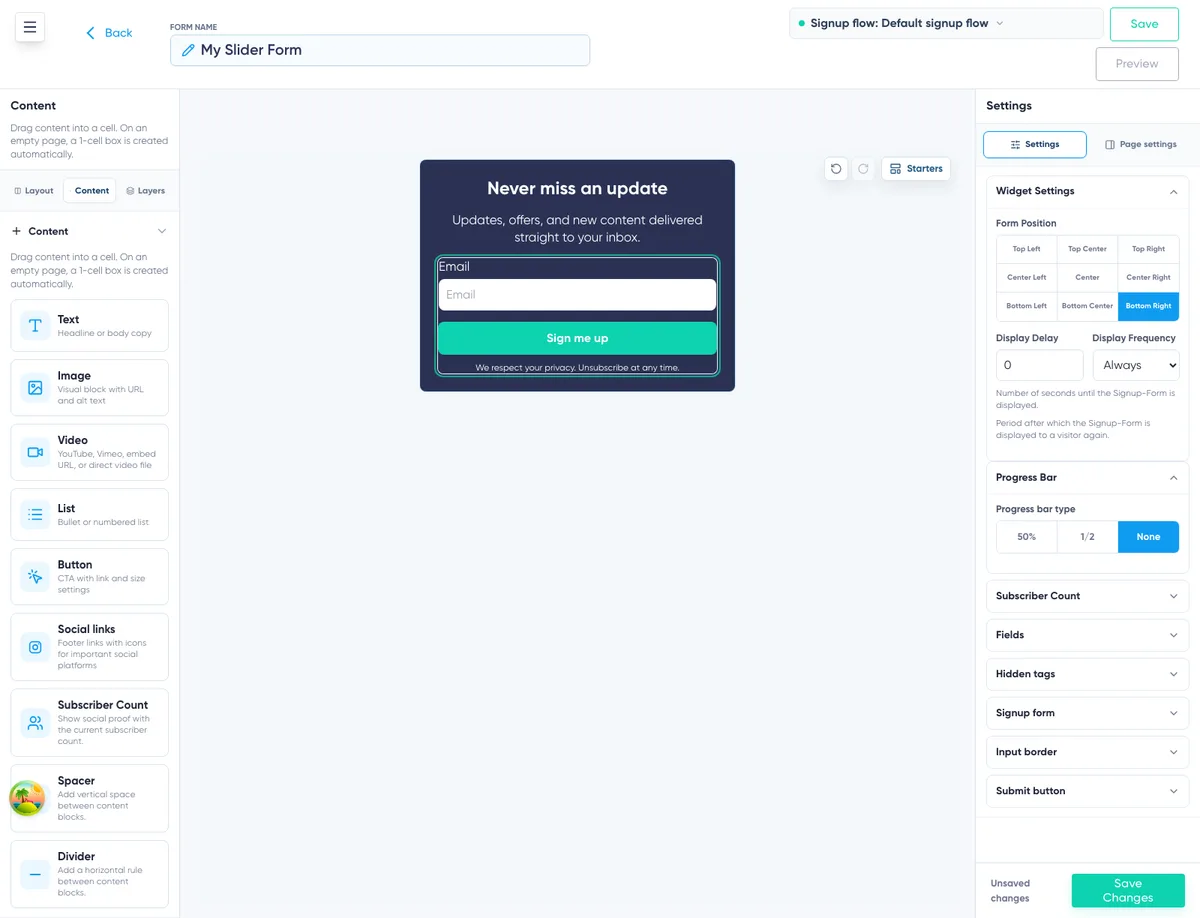
Creating a Slide-in
Open “Signup Forms”, click “Create Form”, and select “Slide-in”. Enter a clear internal name and continue to the builder.
You can also edit an existing Slide-in by clicking its name in the Signup Forms Overview.
Use a name such as “Blog Newsletter Slide-in”, “New Product Reminder”, or “Summer Coupon Slide-in”. The internal name helps you manage the form and is not automatically shown to visitors.
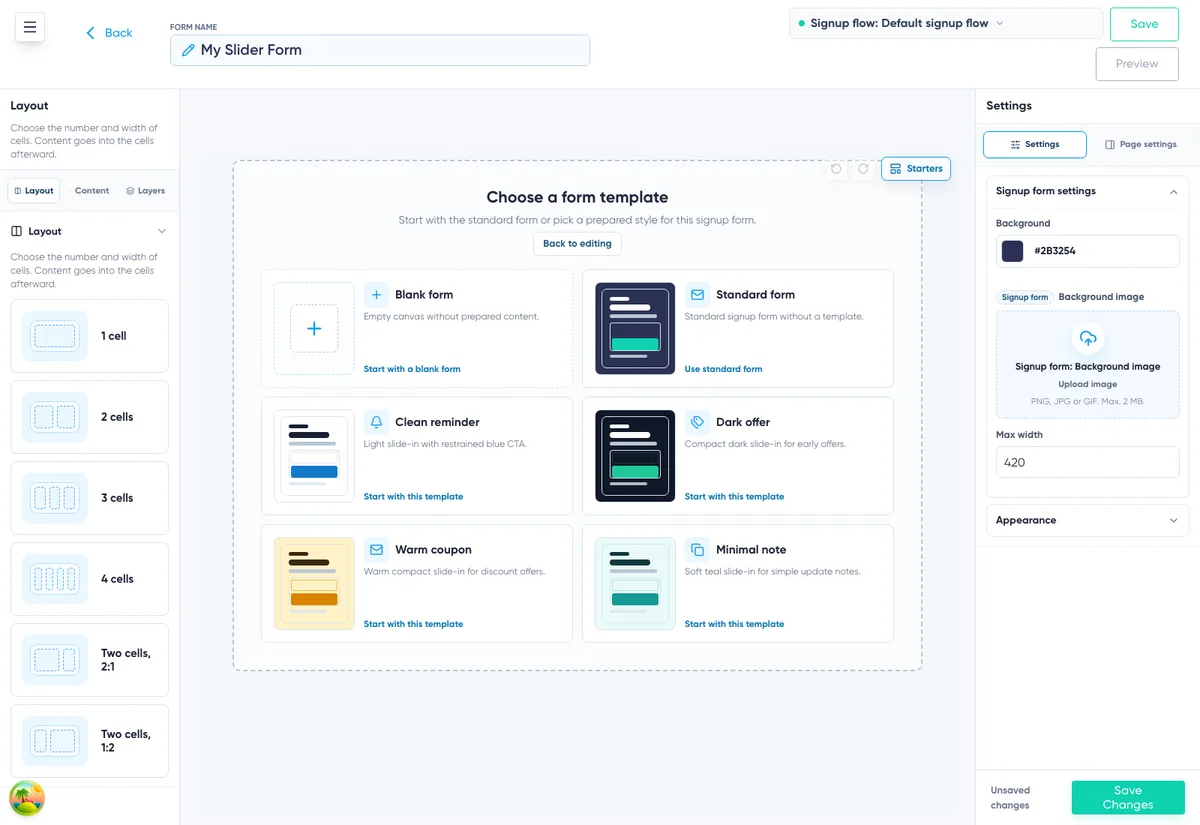
Choosing a Slide-in Template
Slide-ins offer a blank form, a standard form, and four designed templates:
- Clean reminder
- Dark offer
- Warm coupon
- Minimal note
The templates are designed for compact messages, but every element remains editable. You can change the content, fields, colors, typography, border, spacing, and submit button after choosing a starter.
Designing the Slide-in
Use the visual builder to arrange the Slide-in. It can contain the signup form together with text, an image, video, list, button, social links, a subscriber counter, spacer, or divider.
Space is more limited than on a Landing Page or wide Embedded Form. Keep the offer focused and avoid adding content that forces visitors to search for the fields or submit button.
Select the signup form block to configure fields, required information, hidden tags, progress indicator, subscriber counter, inputs, and submit button. Open “Page settings” to change the Slide-in background and overall appearance defaults.
A single-column layout is usually the clearest choice. If you use multiple columns, check carefully how they stack on narrow screens.
Choosing the Screen Position
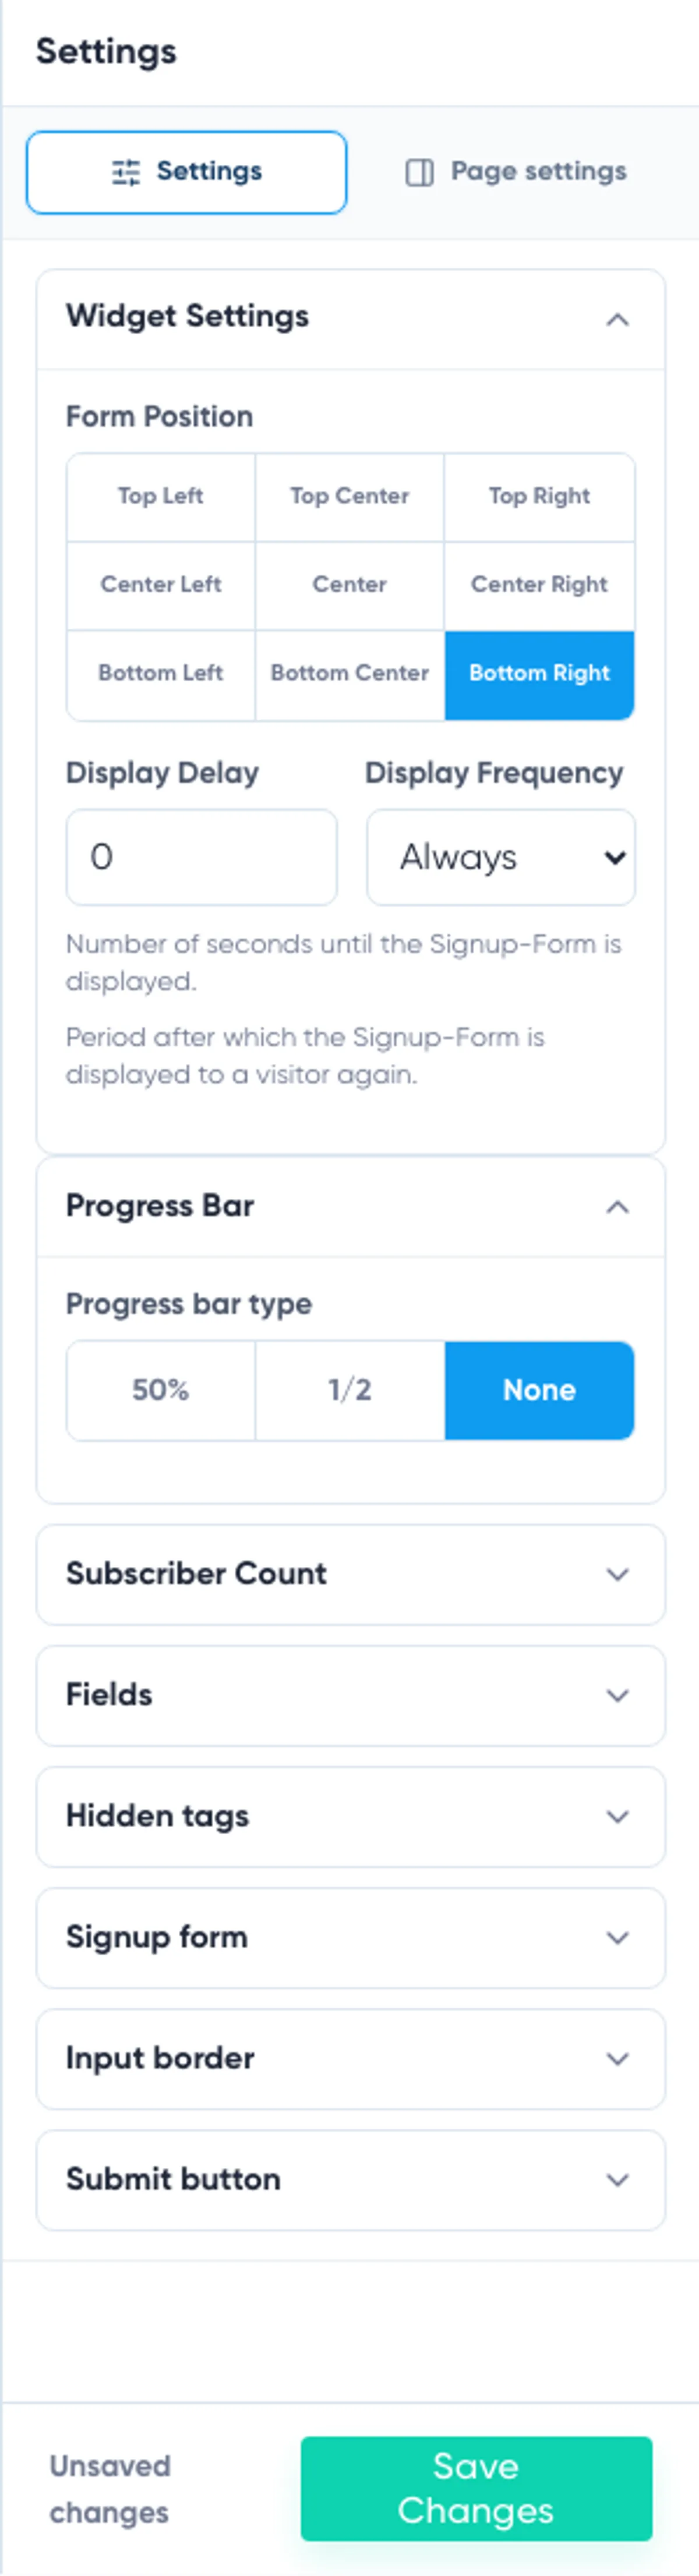
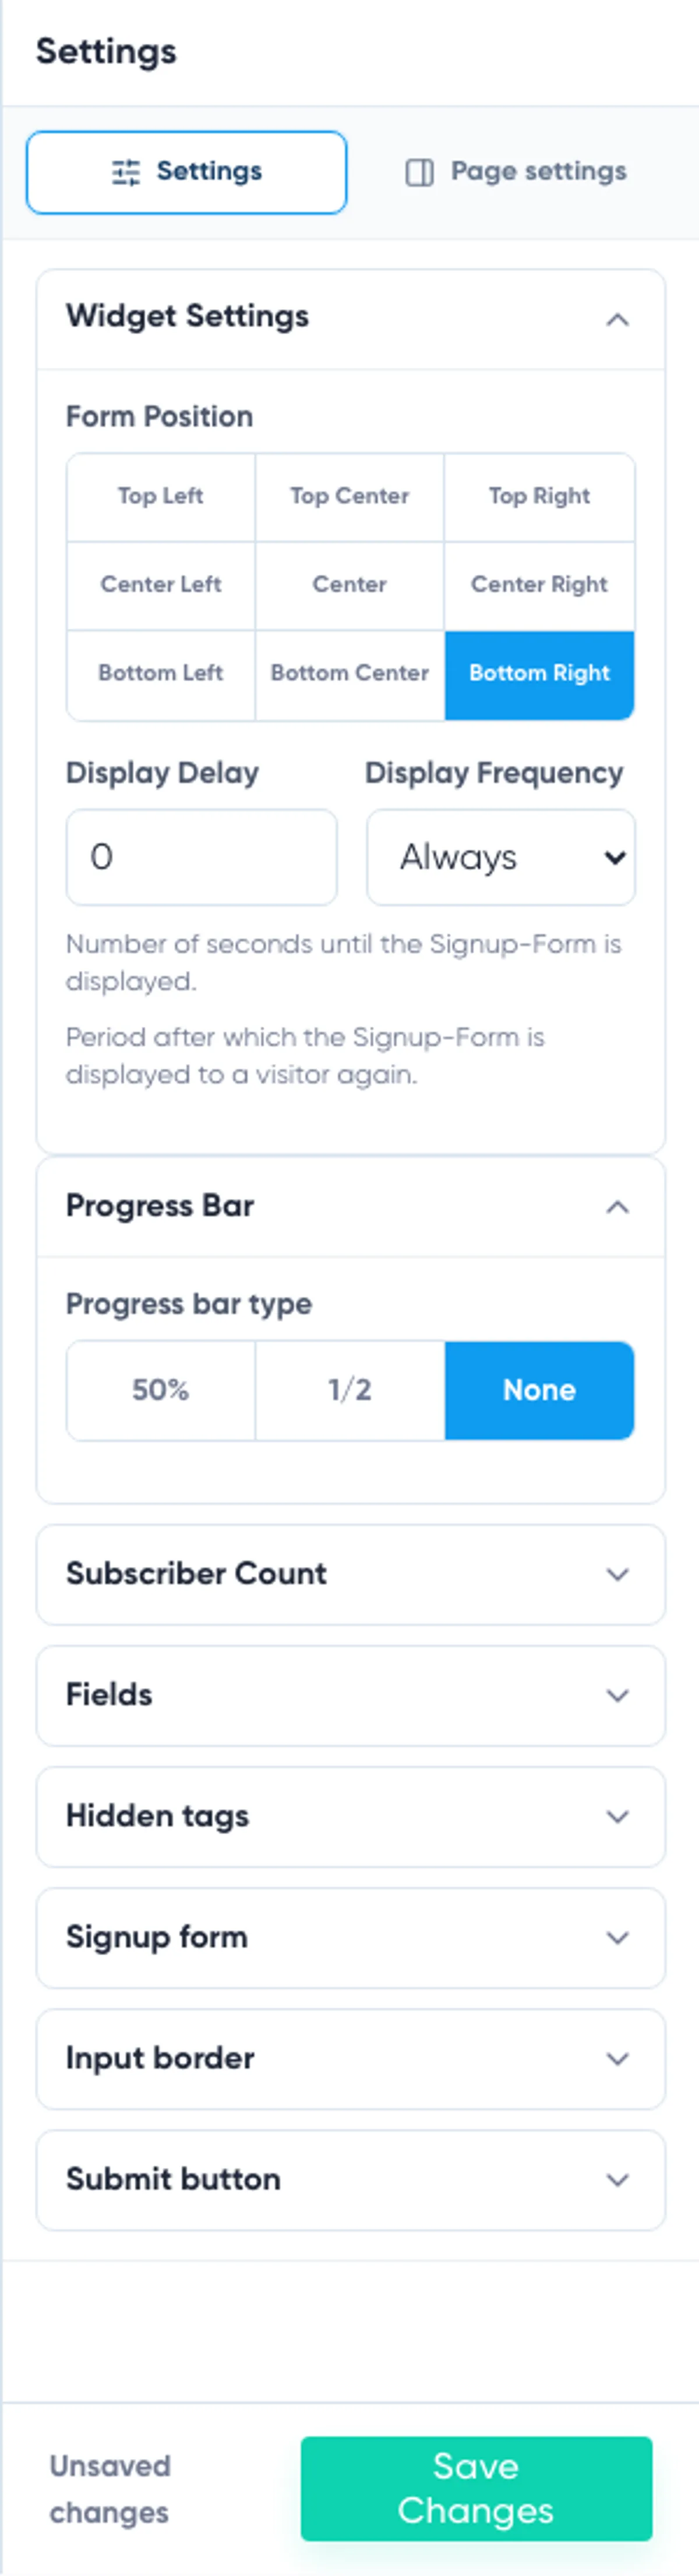
Select the signup form block and open “Widget Settings”. The position selector offers a three-by-three grid:
- Top left, top center, or top right
- Center left, center, or center right
- Bottom left, bottom center, or bottom right
Choose a position that does not cover important website controls. Check cookie notices, chat widgets, navigation, shopping-cart buttons, and other fixed elements before deciding.
On narrow mobile screens, Maildroppa simplifies the placement so the Slide-in fits the available width. Top positions remain at the top; other positions are presented from the lower edge. Always test the result on a small screen instead of relying only on the desktop position.
Setting the Display Delay
“Display Delay” defines how many seconds Maildroppa waits before displaying the Slide-in on an embedded website page.
Use 0 when the Slide-in should be available immediately. Enter a longer delay when visitors should first have time to engage with the page. The builder accepts a delay of up to 86,400 seconds.
A short delay can work well for a simple newsletter reminder. For a longer article, a later appearance may feel more natural and make the offer more relevant to engaged readers.
Setting the Display Frequency
“Display Frequency” controls the period after which the Slide-in can be shown to the same visitor again. You can choose:
- Always
- Once per hour
- Once per day
- Once per week
- Once per month
Use a frequency that matches the offer. A temporary promotion may need a shorter interval, while a general newsletter reminder usually does not need to appear during every visit.
The frequency is stored in the visitor’s browser. Another browser, a private browsing window, or cleared browser storage is treated as a different visit history.
Connecting the Signup Flow
Review the assigned signup flow in the builder header. It defines the response after submission, the Double Opt-in email, and what happens after confirmation.
You can select an existing flow, edit the current flow, or create one specifically for this Slide-in. If the flow is shared by several forms, changes to it affect all of them.
Previewing and Saving
Click “Preview” to review the Slide-in before adding it to your website. Check the selected position, opening behavior, field order, close control, and complete signup response.
Click “Save changes” when the form and Widget Settings are ready. Then return to the Signup Forms Overview.
Activating and Embedding the Slide-in
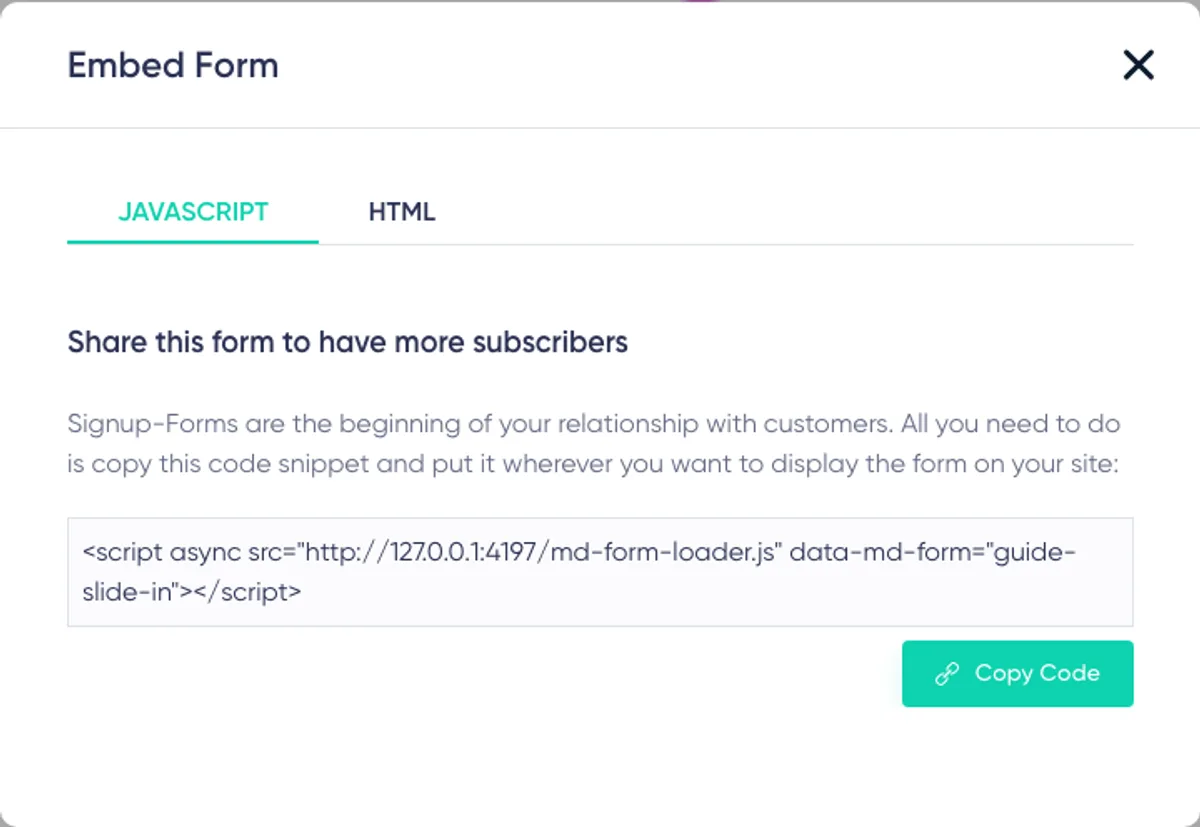
Activate the Slide-in from its three-dot actions menu if it is not already active. Click “Show Code Snippet” and copy the complete code from the “JavaScript” tab.
Add this script to every website page on which the Slide-in should be available. Unlike an Embedded Form, the exact position of the script inside the page does not determine the visible Slide-in position. The position chosen in Widget Settings controls where it appears.
The “HTML” tab provides the generated markup for custom implementations. Test the complete interaction and submission flow carefully if your website uses this option.
For general code placement instructions, see Building and Embedding an Embedded Form.
Testing the Slide-in on Your Website
After adding the code, test the real website page:
- Check that the Slide-in appears after the selected delay.
- Confirm its position on a wide screen.
- Check the adapted position and width on a narrow screen.
- Make sure it does not cover navigation, cookie controls, chat buttons, or other important actions.
- Test opening and closing the Slide-in.
- Submit the form and complete the Double Opt-in process.
- Verify the subscriber and hidden tags in Maildroppa.
The frequency setting can prevent the form from appearing again during repeated tests. Use a private browsing window or clear the relevant browser storage when you need to simulate a new visitor.
Updating or Deactivating the Slide-in
Open the same Slide-in in Maildroppa, make the changes, preview them, and click “Save changes”. The JavaScript snippet continues to use the same form ID and loads the saved configuration.
Choose “Deactivate” in the Signup Forms Overview when the Slide-in should be taken offline without being deleted. Remove its script from the website as well if you no longer plan to use it there.
Ready to Send Better Emails?
Stop juggling bloated tools or overpriced plans. Maildroppa offers personal support, privacy-conscious controls, and powerful email marketing - starting free forever.
No credit card required. No time limit.